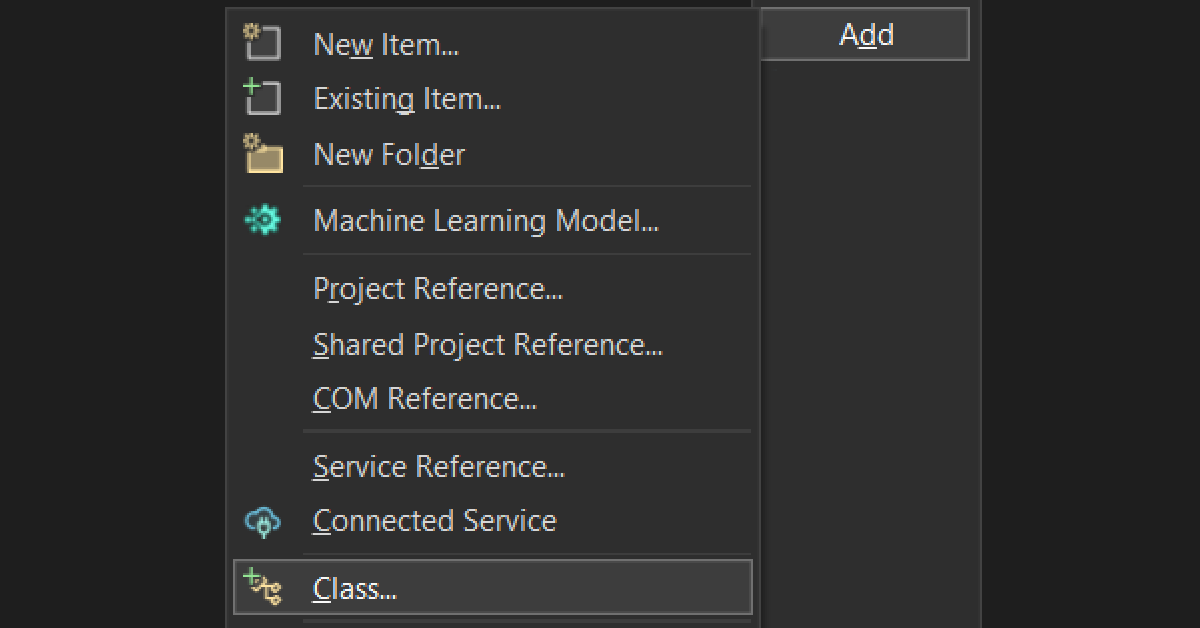
Custom New Class Template
Visual C#

The Incorrect Way

When you add a new class in Visual C#, it is filled with a template.  You can change this.


Step 1.

Go to this folder (for VS2019):

C:\Program Files (x86)\Microsoft Visual Studio\2019\Community\Common7\IDE\ItemTemplates\CSharp\Code\1033\Class


Step 2.

Edit this file in Admin mode (so that you can save it):

Class.cs

Use the variables within this template to your liking.


Example:
// YOUR NAME
// $time$ (Month Day, $year$)
// $itemname$

using Microsoft.Xna.Framework;
using Microsoft.Xna.Framework.Graphics;
using System;
using System.Collections.Generic;
using System.Diagnostics;
using System.Text;

namespace $rootnamespace$
{
    class $safeitemrootname$
    {
        // ---- properties

        // ---- data members

        // ---- methods

    }  // class $safeitemrootname$
}  // namespace $rootnamespace$

See what I did there?

At the end of the file, when you are editing a function at the very end, it’s annoying to see three } at the end, and I often add comments like this.  It’s very neat to have this added automatically.

It’s also cool to automatically have the proper includes, and default constructor, along with common functions you almost always make.  Deleting extra code is easier than writing it every time.

Though, to be honest, these days, I leave things alone, since I have a new mantra:

Always Type the Code.


Warning

Make sure you save a copy of this as some Visual Studio updates will overwrite your changes.

Thus, you should use…


The Correct Way

I opened a bug against Visual Studio describing the data loss, and they directed me to the correct way to do this.  It works, but it’s clumsy.  If you want to edit it, you need to go hack the files yourself in a .zip file, and then re-zip it, as explained here.  Make sure you’re in the correct folder (the one being used by VS2019, and not your Exported Templates folder).